Valve lapping is a process used to improve the seal between an engine valve and its valve seat. A small amount of abrasive lapping compound is placed between the valve face and the seat, then the valve is rotated back and forth until the contact pattern becomes even.
The goal is not to remove large amounts of metal. It is to create a smooth, continuous sealing surface after valve work, head service, or minor seat imperfections.
Contents
Quick answer
| Question | Answer |
|---|---|
| What does valve lapping do? | Improves the valve-to-seat seal |
| Does it fix burned valves? | No, damaged valves need replacement or machining |
| Can you lap valves by hand? | Yes, with the correct tool and compound |
| Is it always needed? | No, modern precision valve jobs may not require it |
When valve lapping helps
- After replacing valves on a serviceable cylinder head.
- After light valve seat cleanup.
- When checking the contact pattern between valve and seat.
- On older engines where a minor sealing improvement is needed.
When you should not lap valves
Do not rely on lapping if the valve is bent, burned, cracked, heavily pitted, or if the valve seat is badly recessed. Lapping also cannot correct incorrect valve angles or a seat that needs machining.
Tools needed
- Valve lapping compound, usually fine or medium/fine.
- Hand lapping stick or suction tool.
- Solvent and lint-free towels.
- Valve spring compressor for removal/installation.
- Prussian blue or marker to inspect contact pattern.
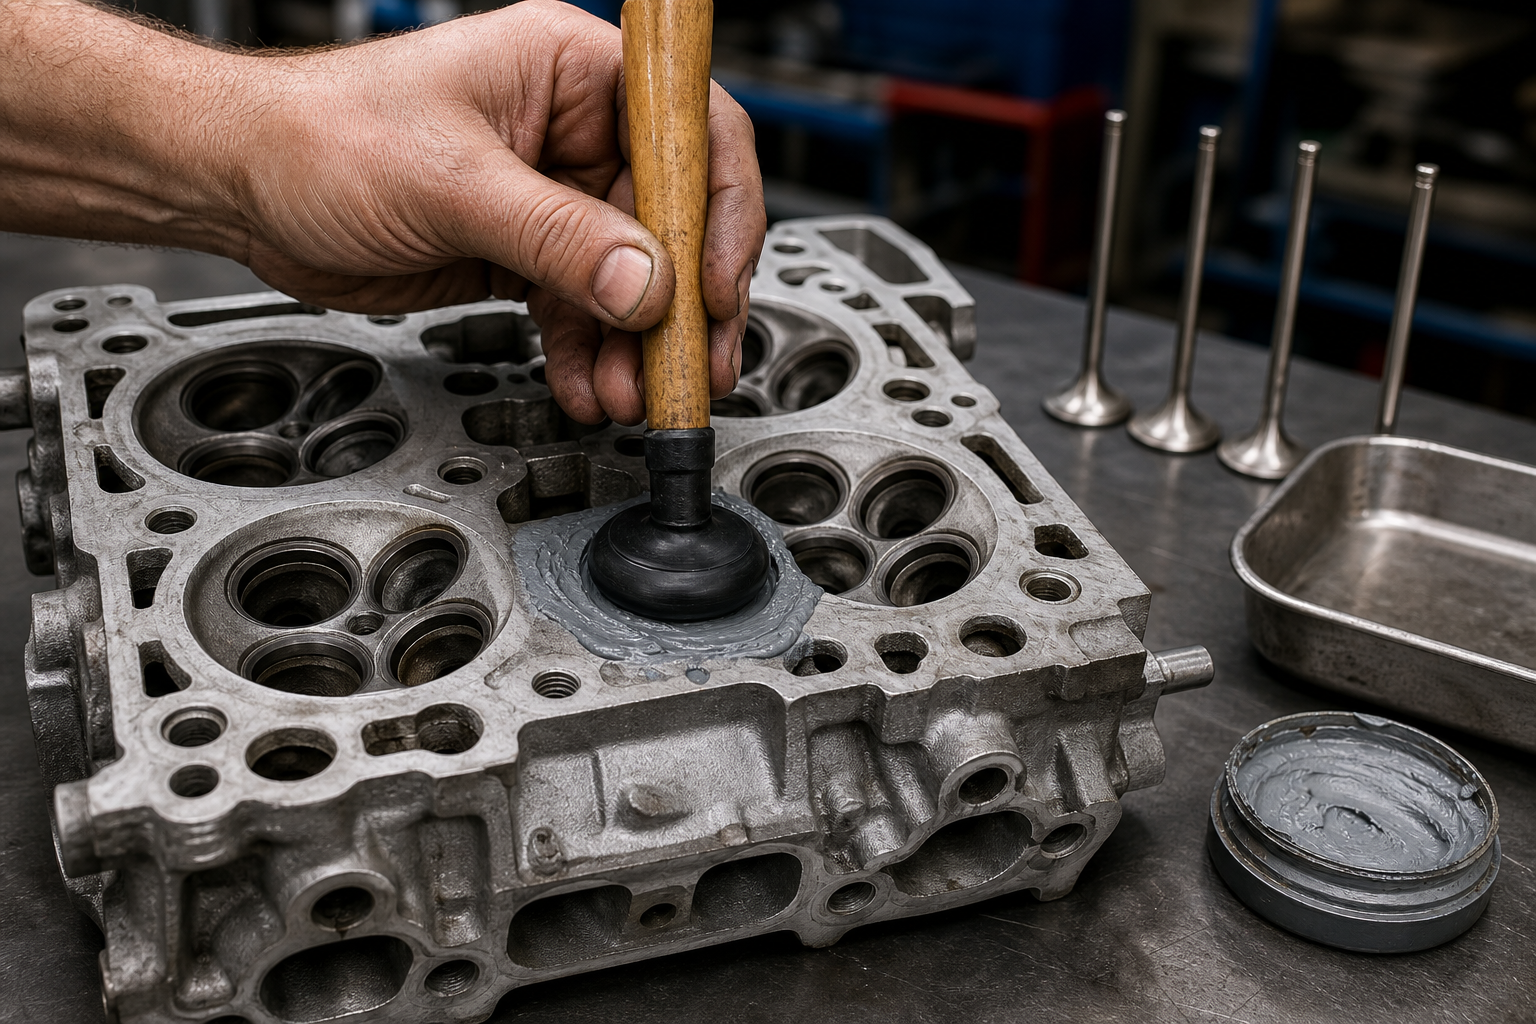
How valve lapping is done
- Remove the valve from the cylinder head and keep parts organized by cylinder.
- Clean the valve face and valve seat.
- Apply a small amount of lapping compound to the valve face.
- Insert the valve into its guide and attach the lapping tool.
- Rotate the valve back and forth using light pressure.
- Lift and reposition the valve occasionally so the compound spreads evenly.
- Stop when the contact ring is continuous and even.
- Clean every trace of abrasive compound before assembly.
What a good lapped valve looks like
A properly lapped valve usually shows a thin, even, dull-gray ring around the valve face and matching seat. The ring should be continuous. If it is broken, very wide, or uneven, the seat may need proper machining.
Common mistakes
- Using too much compound.
- Lapping for too long and widening the seat.
- Failing to clean abrasive residue completely.
- Mixing valves between cylinders.
- Trying to lap badly damaged valves instead of replacing them.
FAQ
Does valve lapping increase compression?
It can help restore compression if poor sealing was caused by minor seat imperfections.
Can valve lapping damage an engine?
Yes, if abrasive compound is left behind or if too much material is removed.
Is valve lapping the same as a valve job?
No. A valve job involves machining valve seats and sometimes valves. Lapping is only a finishing or checking process.