If your Honda’s tail lights stay on when the car is off, it’s often caused by a malfunctioning brake light switch or misalignment. Check the brake light switch’s alignment with the brake pedal and inspect for any broken plastic components.
You should likewise verify the wiring isn’t frayed or shorted. Use a multimeter to measure voltage and confirm the switch’s functioning. Simple fixes, like using tape or bolts temporarily, can address the issue, but a thorough inspection can reveal more detailed solutions. Learning the intricacies of this problem can save you time and effort.
Contents
Identifying the Problem

In Honda vehicles, especially those produced between 1990 and 2002, identifying the problem of tail lights staying on starts with examining the brake light switch.
First, diagnose symptoms such as a drained battery or lights staying on when the ignition is off. The malfunctioning brake light switch is often the culprit.
Check for proper alignment and ascertain the switch contacts the brake pedal correctly. Misalignment or a stuck switch can cause the lights to remain illuminated.
Inspect the switch for any broken plastic components that should engage with the brake pedal lever.
Common Causes
A malfunctioning brake light switch, especially prevalent in Honda models from 1990 to 2002 and 1997 to 1999 Acura CL, often serves as the main culprit behind tail lights staying illuminated.
Misalignment or damage to the brake switch adjustment screw can prevent it from fully disengaging. In addition, a broken or missing plastic piece contacting the brake pedal lever may cause the switch to remain activated.
Faulty wiring, such as frayed wires or short circuits, can likewise lead to illuminated tail lights by providing constant power.
Moreover, debris accumulation around the brake light switch or a sticking brake pedal might hinder its proper function, resulting in the lights staying on even when the vehicle is off.
Diagnostic Steps
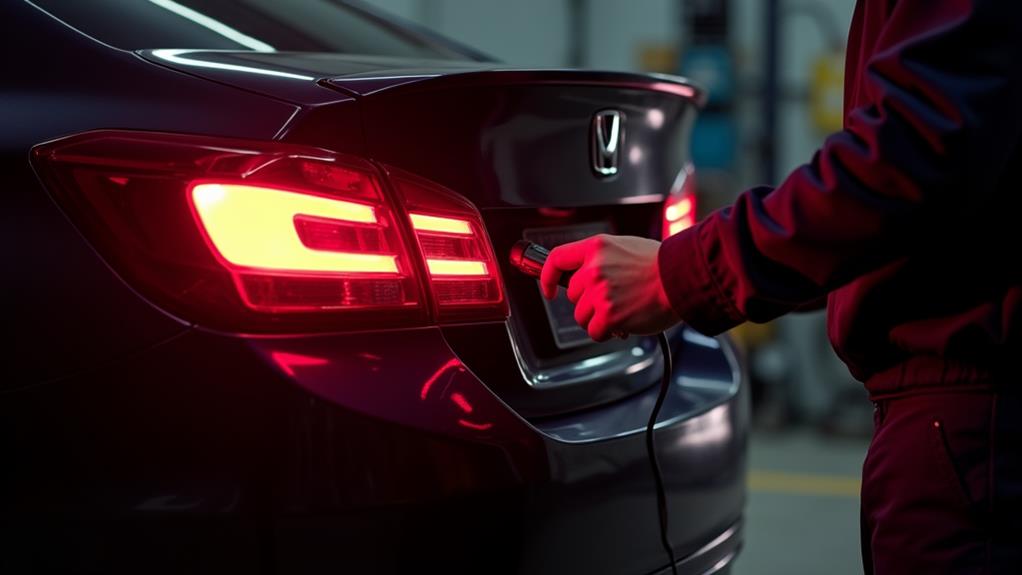
When diagnosing why your Honda’s tail lights won’t turn off, start by inspecting the brake light switch situated above the brake pedal. Confirm it’s properly aligned and functioning.
Next, examine the wiring harness connected to the switch for any signs of damage, wear, or shorts. Utilize a multimeter to measure the voltage at the brake lights when the vehicle is off; any voltage detected indicates an electrical issue.
Furthermore, check the relay associated with the brake light circuit for continuity and proper functioning.
DIY Fixes
To tackle the issue of Honda tail lights staying on, you can start by gathering temporary fix materials like tape or bottle caps to address the brake light switch activation.
Use common DIY tools, such as an M6 hex-head bolt, nut, and lock washer, for a more durable fix.
Replacement parts, like the Dorman HELP! Pedal Stop/Clutch Pad, are affordable and available at most auto parts stores, ensuring a permanent solution.
Temporary Fix Materials
Dealing with Honda tail lights that stay on can be frustrating, but you can address this issue with some common DIY materials.
To create a temporary fix, examine the brake pedal switch. Often, the plastic bumper wears down, causing the lights to stay on. Replace this with an M6 hex-head bolt and nut, which acts as a substitute switch activator.
Alternatively, a smooth round-head carriage bolt can serve the same purpose. You might likewise use makeshift materials such as bottle caps, tape, or small plastic pieces to create a temporary barrier.
Even an eraser can effectively maintain your brake light functionality until a proper repair is feasible. These solutions offer a practical approach to resolving this electrical problem.
Common DIY Tools
After gathering the necessary materials for a temporary fix, it’s important to have the right DIY tools to address the root cause of Honda tail lights that stay on.
Begin with a basic tool kit containing screwdrivers, pliers, and wrenches for removing and replacing the brake light switch and other affected components. A multimeter is crucial for testing electrical connections and ensuring the brake light switch and wiring are functioning correctly.
Use compressed air to clear any debris around the brake light switch, potentially preventing it from sticking. A socket set is useful for the easy removal and installation of the brake light switch.
For temporary solutions, a 1/4-inch bolt and nuts can be a quick fix for broken plastic components.
Replacement Part Options
When tackling the issue of Honda tail lights that stay on, one effective and straightforward DIY fix is replacing the worn plastic bumper on the brake pedal.
You can use replacement parts like the Dorman HELP! Pedal Stop/Clutch Pad, available at local auto parts stores for under $10. Alternatively, an M6 hex-head bolt secured with a nut and lock washer works well.
For temporary fixes, consider:
- Using a smooth round head carriage bolt.
- Makeshift materials like bottle caps and tape.
- Purchasing affordable parts from online marketplaces such as eBay.
These solutions are particularly useful for older Honda models.
Keeping spare parts on hand guarantees you can address unexpected electrical issues without delay, maintaining your vehicle’s safety and functionality.
Professional Repairs
When your DIY fixes don’t solve the issue, a professional repair often starts with an expert diagnosis process, including testing the brake light switch and the entire electrical system for faults.
Technicians will use diagnostic tools to identify grounding issues or short circuits, ensuring they address the root cause.
Thorough switch replacement, if needed, is a straightforward and cost-effective solution that can prevent safety hazards like battery drainage and impaired visibility.
Expert Diagnosis Process
Diagnosing why your Honda’s tail lights stay on involves a meticulous process, often starting with the brake light switch.
A professional inspection will first target this component, as a malfunction here frequently causes the issue. Technicians will:
- Check alignment and adjustment: Verify the brake light switch activates/deactivates correctly.
- Examine the wiring harness: Look for damaged or frayed wires that might cause short circuits.
- Utilize a multimeter: Measure voltage at the brake lights and check relay continuity to confirm electrical integrity.
A thorough diagnosis includes not just the brake light switch but also the broader electrical system, confirming each component from the wiring harness to the relays is operating correctly to prevent the tail lights from staying on.
Switch Replacement
Addressing the persistent issue of Honda tail lights staying on often necessitates a thorough switch replacement.
First, a professional technician will conduct a detailed inspection of the brake light switch, wiring, and connectors to identify any hidden problems. If your switch is faulty, they’ll replace it with an OEM part, priced around $52.57, ensuring seamless integration with your vehicle’s electrical system.
Installation typically takes less than an hour, providing a cost-effective solution to prevent battery drain. Furthermore, the brake pedal assembly will be checked for any misalignment or damage that might affect the new switch’s performance.
Regular professional maintenance of the brake light system is essential for ensuring vehicle safety and preventing recurring issues.
Parts and Costs
Dealing with a Honda’s tail lights that stay on can be both frustrating and costly.
You’ll need to consider several parts and their associated costs. A replacement brake light switch is vital, with basic parts at a dealer costing $2-$3, while an OEM switch can be $52.57.
For older vehicles, finding parts at competitive prices can significantly reduce repair costs.
- Brake pad stopper: Costs around $1.92 and is important if broken.
- Dorman HELP! Pedal Stop/Clutch Pad: Available at local auto parts stores at reasonable prices.
- Online marketplaces: Sites like eBay offer parts for older Honda models often below dealer rates.
Keeping spare parts handy can minimize downtime and expenses.
Preventative Maintenance
Regular preventative maintenance on your Honda’s tail lights can save you from unexpected headaches and costly repairs.
Start by inspecting the brake light switch for wear or damage. Any malfunction here can keep your lights on when the car is off.
Clean the area around the brake pedal to prevent debris from interfering with the switch. Conduct periodic checks of wiring and connectors to spot potential electrical issues, like corrosion or damage.
Replace worn parts, such as the plastic bumper on the brake pedal, swiftly to avoid system failures and battery drainage.
Keeping a toolkit with common replacement parts, like brake light switches and pedal stoppers, guarantees quick repairs and minimizes downtime.
Conclusion
By understanding why your Honda tail lights stay on when the car is off, you can identify common causes and follow diagnostic steps to resolve the issue. Utilize DIY fixes for minor problems or seek professional repairs for more complex situations. Regular preventative maintenance and awareness can prevent recurrence. Addressing these issues quickly not only saves you time and money but also guarantees your vehicle’s electrical systems function at their best and safely.